
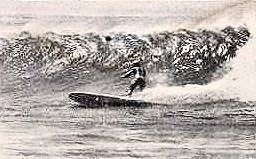
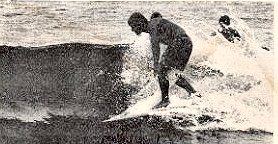
 | (a) DEEP BOTTOM TURN is virtually a stall, as you are holding back from travelling across the wall till the hook is hovering overhead. When you actually lean into the turn there is a redirection of momentum gained by taking the drop, so it's also an obscure manner of acceleration. Fig. 1 |
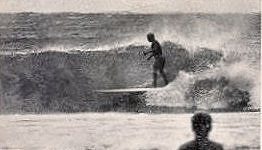
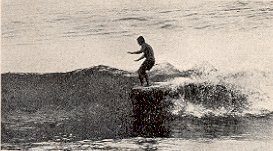
 | (b) CURL ACCELERATION TURN is virtually a bottom turn minus stall. There is no wait while the hook catches up. This turn then, must be executed deeper, sometimes following a fade into the hook. The basic acceleration of the bottom turn is still there. Fig. 2. |
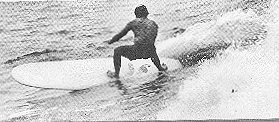
| (c) TOP RAIL PIVOT TURN, used to get hammering across the already hot wall, is hardly a turn at all, just a slight bank performed on the inside rail, on the widest point of the board. |
 | (d) CUT BACK followed by one of the above turns is a pretty obvious way to jam back into the hook. Fig. 13 |
The turns indicate how to get into the action from below, above, or behind the eye. But to slip back into the pocket from ahead? Employ one of the many stalls. Try these.
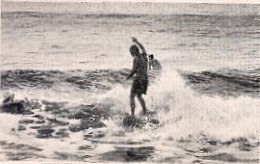
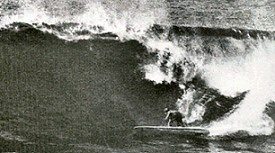
 | (a) THE TAIL STALL is the oldest, most obvious stall. By jamming all your weight on the back half, or less, of your board, means you bury the in- side half and fin pretty deep, creating a mean drag. The big hang-up with this stall is the acceleration that fol- lows, as it's a damn long way to the fast points from on the back. Very handy of course to allow you to get to the tip, and hold the stall from there for a while. Fig. 3 |
 | Which leads us to ... (b) THE NOSE STALL. To perform this, simply bury the inside rail while on the tip. Most noserides are performed this way, b |
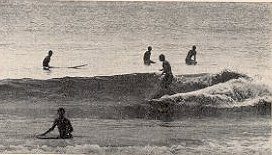
As the wave recovers and starts to wall, drop the fin in by back-peddling, recover some sort of trim, and move out. Nat Young and I spent two days at Noosa working on this, succeeded about four times each. The big problem is knowing just when the fin is going to break out. We are working on special nose and fin shapes for this purpose. Fig. 14 Right: There are the various techniques of getting in the tight spots. Get your jollies back in there, and then try to get out, and make the wave. To get out of the hot parts you'll need three things. Acceleration, speed, knowledge of handling trouble spots. A few handy acceleration techniques. |
No comments:
Post a Comment